 所有關於ViewController切換的行為基本稱做為Model,Navegation特有的Push等等也是Model的分支。 在iOS7裡面把制定切換ViewController的行為拆分成許多Class,目的是為了要降低耦合,讓Code重用度提高,比如Coustom一個切換Animation物件可以用在好幾個ViewController之間。
要切換ViewController你要告訴UIKit兩件事情,顯示成怎樣
UIModalPresentationStyle
和過場動畫Animations。
UIModalPresentationStyle
UIModalPresentationStyle是UIViewController裡的參數。定義了Presented最終呈現的樣式,比如:
- 覆蓋全螢幕類的
UIModalPresentationFullScreen
- iPad上常見的
UIModalPresentationPopover
UIModalPresentationCurrentContext指定特定ViewController去做覆蓋- 而我們想要的Slide Menu這樣的顯示效果不是上面幾種類型的,我們就必須要Coustom一個。也就必須實作
TransitioningDelegate來提供下面兩種物件:
UIPresentationController- 實作
UIViewControllerAnimatedTransitioning的Animation
兩個物件後面會提到怎麼產生。
使用Segue切換View Controller
用Code寫的話常見做法是在Prestenting View Controller裡面呼叫presentViewController。而在這個可視化當道的年代當然要配合Storyboard搭配Segue才不會在未來多螢幕適配被淘汰掉。
在StoryBoard裡面拉出一條Segue,並且把Kind指定成Coustom。這樣就是告訴StoryBoard我們不用UIKit內建的展示和轉場效果,要自己建立一個SubcalssUIStoryboardSegue的Coustom Segue物件:
1
| @interface SlideLeftCustomSegue : UIStoryboardSegue
|
在這裡只要實作perform方法,在裡面設定:
1
2
3
4
5
6
7
8
9
10
11
12
13
14
15
16
17
18
| // 系統調用prepareForSegue就是調用這裡
- (void)perform{
UIViewController *srcViewController = (UIViewController *) self.sourceViewController;
SettingTableViewController *destViewController = (SettingTableViewController *) self.destinationViewController;
SlideMenuShowTransition *trainstionDelegate = [[SlideMenuShowTransition alloc]init];
[destViewController setTd:trainstionDelegate];
//把Presented View Controller的`ModalPresentationStyle屬性改成UIModalPresentationCustom
[destViewController setModalPresentationStyle:UIModalPresentationCustom];
//設置TransitioningDelegate。這個代理主要用來提供待會兒切換會用到的所有物件。下面會介紹到
[destViewController setTransitioningDelegate:trainstionDelegate];
//最後呼叫presentViewController,來呼叫UIKit做開始切換
[srcViewController presentViewController:destViewController animated:YES completion:nil];
}
|
TransitioningDelegate
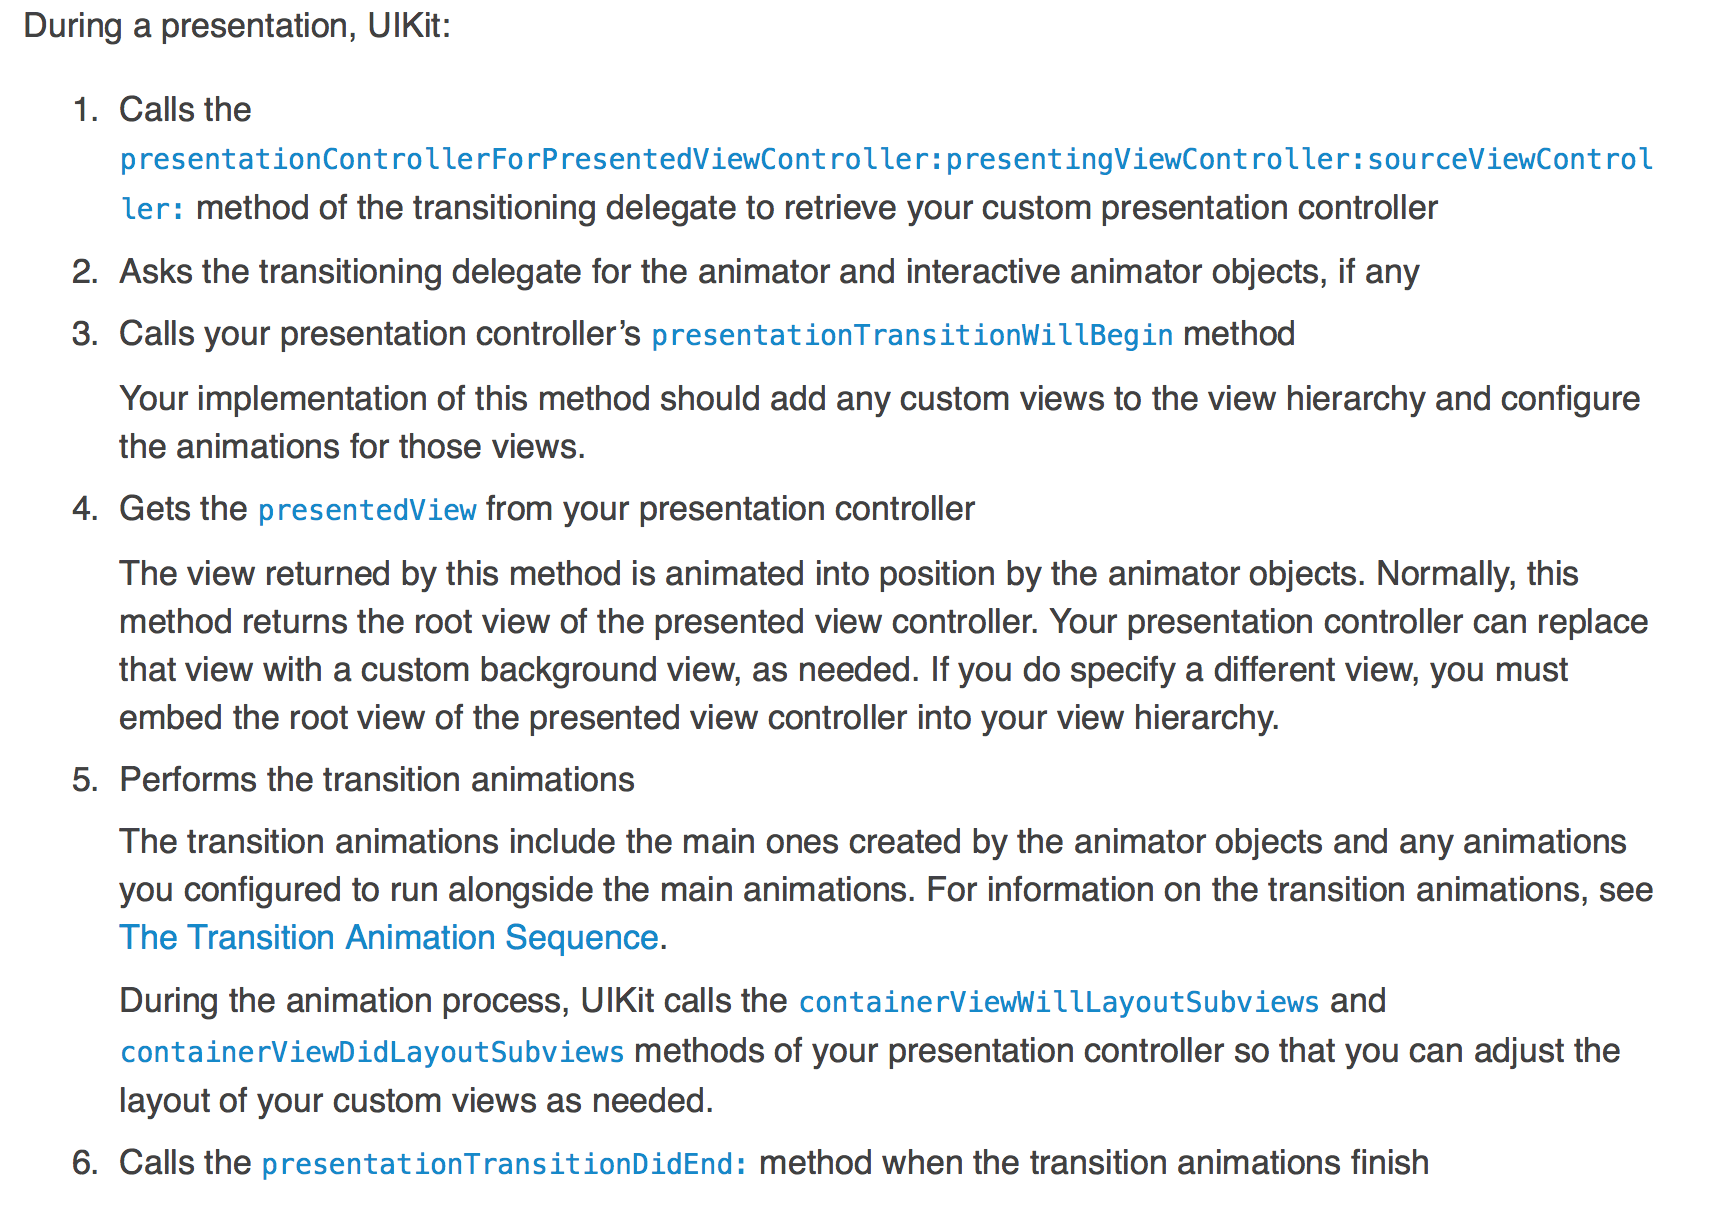
當系統發現Predented View Controller指定ModalPresentationStyle參數為UIModalPresentationCustom時,就會去呼叫TransitioningDelegate來提供上面有提到Model切換轉場所需的相關物件:UIPresentationController與Animation。
只要創一個實作TransitioningDelegate的NSObject,並指定給Presented View Controller就可以了。
執行的時候UIKit會先抓UIPresentaionController再依照情況抓取要的Animaion物件。
- 提交
UIPresentaionController來決定Presented View的Final的Frame。
- 提交所有轉場,包誇Present View Controller進來, Dismiss View Controller,還有交互等等。我們這裡簡單討論Present還有Dismiss的Animation物件怎麼做。
系統會先抓UIPresentaionController一部分是因為Animation物件需要知道Prested View Final Frame。
1
2
3
4
5
6
7
8
9
10
11
12
13
14
15
16
17
18
19
20
21
22
23
24
25
| // present時uikit會從這裡拿資料<過場動畫>
- (id<UIViewControllerAnimatedTransitioning> _Nullable)animationControllerForPresentedController:(UIViewController * _Nonnull)presented presentingController:(UIViewController * _Nonnull)presenting sourceController:(UIViewController * _Nonnull)source {
SlideMenuAnimator *animator = [[SlideMenuAnimator alloc]init];
[animator setPresenting:YES];
return animator;
}
// dismiss時uikit會從這裡拿資料<過場動畫>
- (id<UIViewControllerAnimatedTransitioning> _Nullable)animationControllerForDismissedController:(UIViewController * _Nonnull)dismissed {
SlideMenuAnimator *animator = [[SlideMenuAnimator alloc]init];
[animator setPresenting:NO];
return animator;
}
// UIKit在切換之初從這裡要UIPresentationController
- (UIPresentationController *)presentationControllerForPresentedViewController:
(UIViewController *)presented
presentingViewController:(UIViewController *)presenting
sourceViewController:(UIViewController *)source {
SlideMenuPresentaionController* myPresentation = [[SlideMenuPresentaionController alloc]
initWithPresentedViewController:presented presentingViewController:presenting];
return myPresentation;
}
|
UIPresentationController
在iOS 7裡面引進了這個UIPresentationController,可以決定以下事情
- Set the size of the presented view controller.
- Add custom views to change the visual appearance of the presented content.
- Supply transition animations for any of its custom views.
- Adapt the visual appearance of the presentation when changes occur in the app’s environment.(之後另設補充)
這裡只先介紹前三項,指定Presented View Frame的方法,還有額外增加Coustom View如陰影層的方法:
1
2
3
4
5
6
7
8
9
10
11
12
13
14
15
16
17
18
19
20
21
22
23
24
25
26
27
28
29
30
31
32
33
34
35
36
37
38
39
40
41
42
43
44
45
46
47
48
| // 決定了使用UIModalPresentationCustom這樣的Model切換方式,就可以在這裡直接指定PresentedView的frame
- (CGRect)frameOfPresentedViewInContainerView {
CGRect presentedViewFrame = CGRectZero;
CGRect containerBounds = [[self containerView] bounds];
presentedViewFrame.size = CGSizeMake(floorf(containerBounds.size.width * 0.7),
containerBounds.size.height);
return presentedViewFrame;
}
// Present的時候可以增加一些Coustom View,靠animateAlongsideTransition來顯示新增的Coustom過場動畫
// 這裡用dimmingView來做Coustom View的例子
- (void)presentationTransitionWillBegin {
self.dimmingView = [[UIView alloc]init];
[self.dimmingView setFrame:self.containerView.frame];
[self.dimmingView setBackgroundColor:[UIColor blackColor]];
[self.dimmingView setAlpha:0.3f];
// Add a custom dimming view behind the presented view controller's view
[[self containerView] addSubview:self.dimmingView];
[self.dimmingView addSubview:[[self presentedViewController] view]];
#pragma clang diagnostic push
#pragma clang diagnostic ignored "-Wundeclared-selector"
UITapGestureRecognizer *dimmingViewSingleTap =
[[UITapGestureRecognizer alloc] initWithTarget:self.presentingViewController
action:@selector(handleDimmingViewSingleTap)];
#pragma clang diagnostic pop
[self.dimmingView addGestureRecognizer:dimmingViewSingleTap];
// Fade in the dimming view during the transition.
[self.dimmingView setAlpha:0.0];
// Use the transition coordinator to set up the animations.
[[[self presentingViewController] transitionCoordinator] animateAlongsideTransition:^(id<UIViewControllerTransitionCoordinatorContext> _Nonnull context) {
[self.dimmingView setAlpha:0.55];
} completion:^(id<UIViewControllerTransitionCoordinatorContext> _Nonnull context) {
}];
}
- (void)dismissalTransitionWillBegin {
[[[self presentingViewController] transitionCoordinator] animateAlongsideTransition:^(id<UIViewControllerTransitionCoordinatorContext> _Nonnull context) {
[self.dimmingView setAlpha:0.0];
} completion:^(id<UIViewControllerTransitionCoordinatorContext> _Nonnull context) {
}];
}
|
Animation
建立一個實作UIViewControllerAnimatedTransitioning protocol的NSObject,裡面會有系統傳入的UIViewControllerContextTransitioning,這裡面會包含你後面要做動畫所需的所有物件。
主要兩個方法,一個方法專門玩動畫,一個方法單純回傳動畫所需時間。
我們可以把Present和Dismiss的動畫寫在一起,但transitionContext傳入的資訊什麼都有,就是沒有現在是Present還是Dismiss狀態的參數。
所以要自己設一個,並且在TransitioningDelegate回傳動畫方法時指定給Animation物件知道:
1
2
3
| @interface SlideMenuAnimator : NSObject<UIViewControllerAnimatedTransitioning>
@property (nonatomic) Boolean presenting;
@end
|
1
2
3
4
5
6
7
8
9
10
11
12
13
14
15
16
17
18
19
20
21
22
23
24
25
26
27
28
29
30
31
32
33
34
35
36
37
38
39
40
41
42
| // 這裡UIKit會給我們兩個View,包在transitionContext裡面,只要取出來玩就好了
// 這裡是真的作動畫的地方
- (void)animateTransition:(id<UIViewControllerContextTransitioning> _Nonnull)transitionContext {
// Get the set of relevant objects.
UIView *containerView = [transitionContext containerView];
UIViewController *fromVC = [transitionContext
viewControllerForKey:UITransitionContextFromViewControllerKey];
UIViewController *toVC = [transitionContext
viewControllerForKey:UITransitionContextToViewControllerKey];
UIView *toView = [transitionContext viewForKey:UITransitionContextToViewKey];
UIView *fromView = [transitionContext viewForKey:UITransitionContextFromViewKey];
// Set up some variables for the animation.
//CGRect containerFrame = containerView.frame;
//CGRect toViewStartFrame = [transitionContext initialFrameForViewController:toVC];
CGRect fromViewStartFrame = [transitionContext initialFrameForViewController:fromVC];
CGRect toViewFinalFrame = [transitionContext finalFrameForViewController:toVC];
CGRect fromViewFinalFrame = [transitionContext finalFrameForViewController:fromVC];
// 3. Add toVC's view to containerView
[containerView addSubview:toView];
if (self.presenting) {
[toView setFrame:CGRectOffset(toViewFinalFrame, -1*toViewFinalFrame.size.width, 0)];
}else {
[fromView setFrame:fromViewStartFrame];
}
// Creating the animations using Core Animation or UIView animation methods.
[UIView animateWithDuration:[self transitionDuration:transitionContext] animations:^{
if (self.presenting) {
toView.frame = toViewFinalFrame;
}else {
fromView.frame = CGRectOffset(fromViewFinalFrame, -1*fromViewFinalFrame.size.width, 0);
}
} completion:^(BOOL finished) {
// 3.Cleaning up and completing the transition.
[transitionContext completeTransition:YES];
}];
}
|
嚴謹有序的切換View Controller Flow
到這邊就可以做出一個會動,有PresentingView有陰影Mask的SlideMenu了,視覺上是仿照Google Photo。基本上iOS 7所引進的這些許多新方法都是為了要解構,使之可以更容易管理,更有邏輯性。
有關切換ViewController來有些重要Feature,留待之後想到應用實作再增加
- InteractiveTransition交互動畫的部分
- 跟
UIPresentationController適配不同場景的應用Adapting to Different Size Classes
參考資料
https://developer.apple.com/videos/play/wwdc2014-228/
– http://onevcat.com/2013/10/vc-transition-in-ios7/
– https://developer.apple.com/library/ios/featuredarticles/ViewControllerPGforiPhoneOS/DefiningCustomPresentations.html#//apple_ref/doc/uid/TP40007457-CH25-SW1
 所有關於ViewController切換的行為基本稱做為Model,Navegation特有的Push等等也是Model的分支。 在iOS7裡面把制定切換ViewController的行為拆分成許多Class,目的是為了要降低耦合,讓Code重用度提高,比如Coustom一個切換Animation物件可以用在好幾個ViewController之間。